Subfloor Preparation
1.1 Checking the Subfloor for Levelness and Dryness
Ensure the subfloor is dry, level, and free of debris. Use a spirit level and moisture meter to verify it meets COREtec’s specifications.
1.2 Cleaning the Subfloor
Sweep and vacuum the subfloor thoroughly to remove dirt, old adhesives, or contaminants. Clean with a degreaser if necessary for a smooth installation.
1.3 Leveling the Subfloor
Apply a self-leveling compound to uneven areas and allow it to cure. Ensure the subfloor is structurally sound and properly prepared before proceeding.
Before installing COREtec flooring, ensure the subfloor is level and dry. Use a spirit level to check for evenness, as any deviation beyond 3/16 inch per 10 feet can cause installation issues. Inspect for cracks or uneven areas that may require leveling compounds. Additionally, verify the subfloor’s dryness using a moisture meter, as excessive moisture can lead to warping or damage. Ensure the subfloor meets COREtec’s specifications for indoor use. If the subfloor has existing flooring, check for structural integrity and remove any old adhesives or debris. Proper preparation ensures a stable base for your COREtec floors.
Thoroughly clean the subfloor to ensure proper COREtec installation; Start by sweeping or vacuuming to remove dirt, dust, and debris. For stubborn contaminants, use a degreaser or adhesive remover, following the manufacturer’s instructions. Scrub the subfloor with a stiff brush to eliminate old adhesives, paint, or other substances. Rinse thoroughly with clean water and allow it to dry completely; A clean subfloor prevents uneven installation and ensures a strong bond between the subfloor and flooring. Any remaining contaminants can lead to installation issues, so double-check for cleanliness before proceeding. Properly preparing the subfloor is essential for a smooth and durable COREtec floor installation.
A level subfloor is critical for a successful COREtec installation. Begin by inspecting the subfloor for unevenness using a spirit level. Identify low or high spots and address them by applying a self-leveling compound. Follow the manufacturer’s instructions for mixing and spreading the compound. Use a trowel or leveling tool to feather edges and ensure a smooth surface. Allow the compound to cure completely, as specified by the product instructions. Once cured, inspect the subfloor again to ensure it meets COREtec’s levelness requirements of no more than 3/16″ variation in a 10-foot radius. A properly leveled subfloor ensures a stable and even COREtec floor installation.

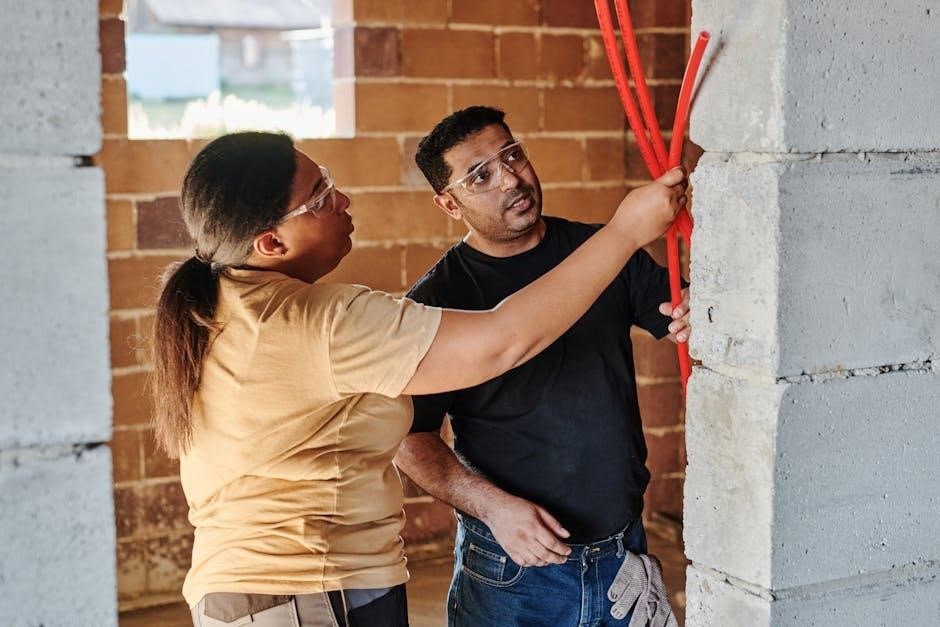
Tools and Materials Needed
Essential tools include a tapping block, pull bar, utility knife, and spacers. Required materials are underlayment, adhesive (for glue-down), and transition strips. Always follow manufacturer instructions.
2.1 Essential Tools for COREtec Installation
The essential tools for a successful COREtec installation include a tapping block, pull bar, utility knife, and spacers. A measuring tape and pencil are also necessary for precise cuts and markings. Use a vacuum to ensure the subfloor remains clean during installation. Safety gear like gloves and goggles is recommended. These tools ensure proper alignment, fitting, and overall quality of the installation, aligning with manufacturer guidelines for a professional finish. Always refer to the specific installation instructions provided with your COREtec product for any additional tool recommendations. Proper tool usage is critical for achieving a durable and visually appealing floor.
2.2 Required Materials for a Successful Installation
To ensure a successful COREtec installation, gather the necessary materials: underlayment, adhesive (for glue-down methods), spacers, and transition strips. Underlayment provides sound reduction and moisture protection. Adhesive must be compatible with COREtec and the subfloor type. Spacers create essential expansion gaps around the perimeter. Transition strips are needed for seamless transitions between flooring types. Additionally, a tapping block and pull bar are essential for securing planks during the angle-tap method. Always use materials approved by the manufacturer to ensure warranty compliance and optimal performance. Proper material selection is key to achieving a professional, long-lasting installation. Refer to the product guidelines for specific recommendations.
Acclimatization Guidelines
Acclimatize COREtec flooring in the installation room for 24-72 hours before starting. This ensures the material adjusts to temperature and humidity, preventing post-installation issues.
3.1 Importance of Acclimatizing COREtec Flooring
Acclimatizing COREtec flooring is crucial to ensure proper installation and long-term performance. This process allows the material to adjust to the room’s temperature and humidity levels, preventing warping or shrinking after installation. COREtec flooring should be acclimatized for 24 to 72 hours in the installation area. Failure to acclimate can lead to gapping, buckling, or other issues. Proper acclimatization also ensures the flooring adheres correctly to the subfloor, especially in glue-down installations. Additionally, acclimatization is often required to validate the manufacturer’s warranty. Always follow the recommended guidelines to achieve a stable and durable floor. This step is essential for a successful and stress-free installation experience.
3.2 How to Acclimatize COREtec Flooring
To acclimatize COREtec flooring, bring the planks into the installation room 24 to 72 hours before installation. Unpack the flooring and distribute the planks evenly across the room. Ensure the space is climate-controlled, maintaining a consistent temperature between 65°F and 75°F (18°C to 24°C) and relative humidity between 35% and 55%. Allow the flooring to adjust naturally without exposing it to direct sunlight or extreme conditions. Keep the subfloor dry and level during this period. After acclimatization, inspect the planks for stability before proceeding with installation. Proper acclimatization ensures dimensional stability and a successful installation. Follow these steps to guarantee the flooring performs optimally in its new environment.
Installation Methods
COREtec flooring can be installed using glue-down or angle-tap methods. Both ensure a secure and durable fit, suitable for various subfloor types when proper guidelines are followed.
4.1 Glue-Down Installation Instructions
For glue-down installations, ensure the subfloor is clean, dry, and level. Apply a recommended adhesive evenly with a trowel, following the manufacturer’s instructions. Allow the adhesive to dry until tacky. Begin installation along the longest wall, aligning the first plank with spacers to maintain expansion gaps. Press each plank firmly into the adhesive, ensuring proper alignment and bonding. Use a tapping block to secure planks tightly. Leave a 1/4-inch expansion gap around the perimeter. Avoid walking on the floor until the adhesive fully cures, typically 24-48 hours. Follow all safety precautions and manufacturer guidelines for a durable, long-lasting installation.
4.2 Angle-Tap Installation Instructions
Begin installation by starting along the longest wall, using spacers to maintain the recommended expansion gaps. Align the first plank with the wall, ensuring proper positioning. To secure subsequent planks, angle them at 45 degrees and tap gently into place using a tapping block. Lock the planks together by tapping the short end with a hammer and tapping block, ensuring a snug fit. Maintain consistent spacing and alignment as you progress. For the last row, measure and cut planks to fit, leaving the required expansion gap. Use a pull bar to secure the final planks tightly. Avoid excessive force to prevent damage; Allow the floor to settle before resuming normal traffic. Follow all manufacturer guidelines for a successful installation.
Post-Installation Care
Regularly sweep and mop with COREtec-approved cleaners to maintain appearance. Avoid harsh chemicals or excessive water. Dry spills promptly to prevent damage. Trim rugs to avoid damage.
5.1 Sealing the Floor for Longevity
Sealing is not required for most COREtec floors due to their durable, pre-finished surfaces. However, for enhanced protection, especially in high-traffic areas or for natural wood/core surfaces, use a COREtec-approved sealant. Apply the sealant evenly, following the manufacturer’s instructions. Avoid over-sealing, as it may leave a residue. Test a small area first to ensure compatibility. Regular maintenance, such as cleaning with COREtec-recommended products, is essential for preserving the floor’s appearance. Avoid harsh chemicals, abrasive cleaners, or excessive water, as they can damage the finish. By following these guidelines, you can extend the life and beauty of your COREtec flooring.
5.2 Maintenance Tips for COREtec Floors
To maintain your COREtec floors, clean them regularly with a COREtec-approved cleaner. Avoid using harsh chemicals, abrasive cleaners, or excessive water, as they can damage the finish. Sweep or vacuum daily to remove dirt and debris. Place felt pads under furniture legs to prevent scratches. For spills, wipe them immediately with a clean, damp cloth. For tougher stains, mix a solution of water and white vinegar, but avoid overly saturating the floor. Mats at entryways can help trap dirt and moisture. Avoid dragging heavy objects across the floor. By following these maintenance tips, you can preserve the beauty and durability of your COREtec flooring for years to come.
Troubleshooting Common Issues
During or after installation, issues like gapping, buckling, or uneven planks may arise. Gapping occurs if the subfloor isn’t level or acclimatization was skipped. Buckling can result from excessive moisture or improper expansion gaps. To fix, ensure the subfloor is dry and level, and allow the floor to acclimate. For uneven planks, check for debris under the flooring and re-install. If issues persist, contact a professional. Regular maintenance and adherence to COREtec’s guidelines can prevent these problems. Always refer to the installation manual for specific solutions. Proper care ensures long-lasting performance and appearance of your COREtec floors.