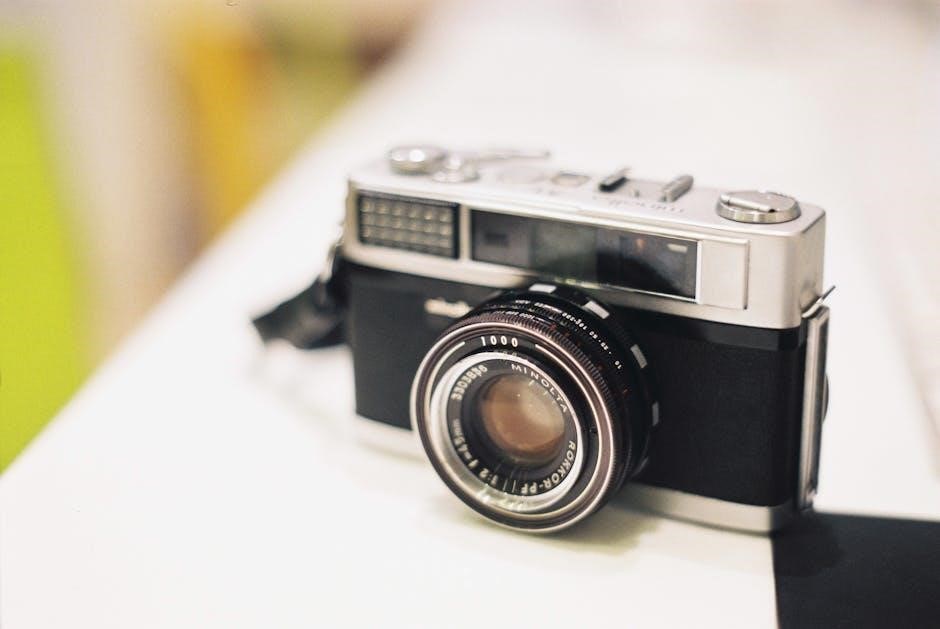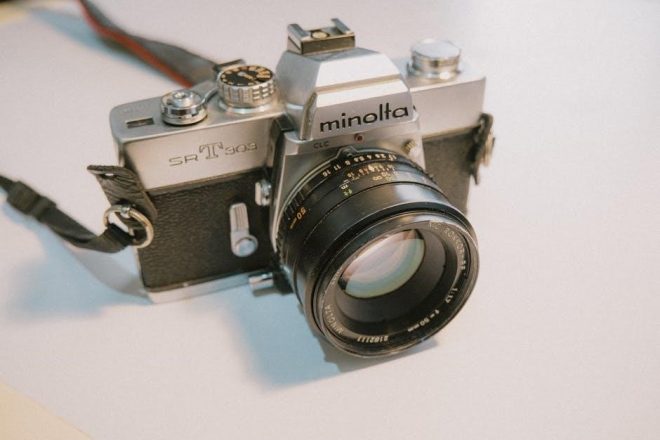
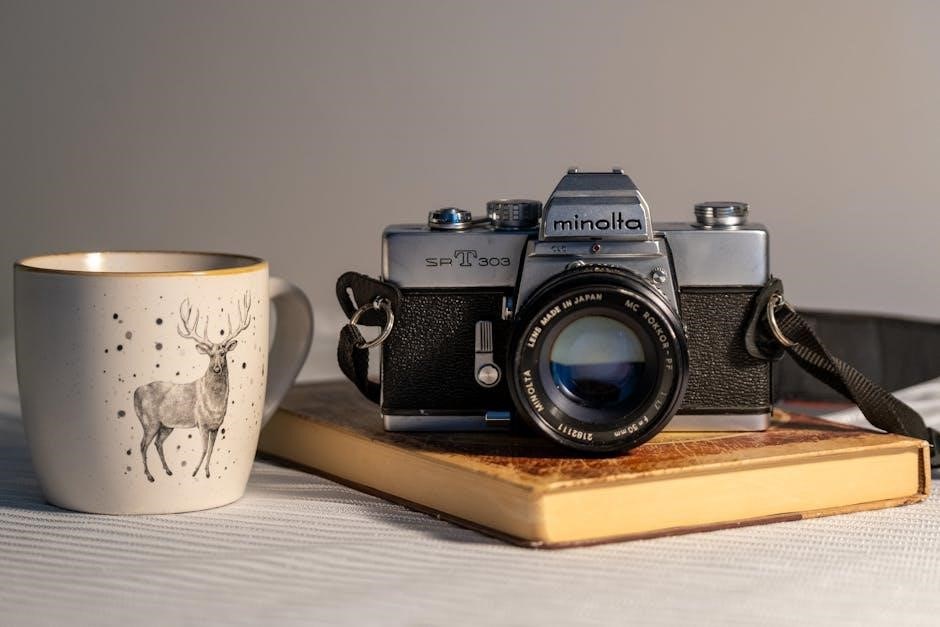
Overview of the Minolta X-370
The Minolta X-370 is a 35mm SLR film camera with aperture-priority auto-exposure and manual modes. Known for its user-friendly design and quartz-controlled shutter‚ it offers ease of use and advanced features‚ making it a popular choice among photographers and collectors.
1.1 Key Features of the Minolta X-370
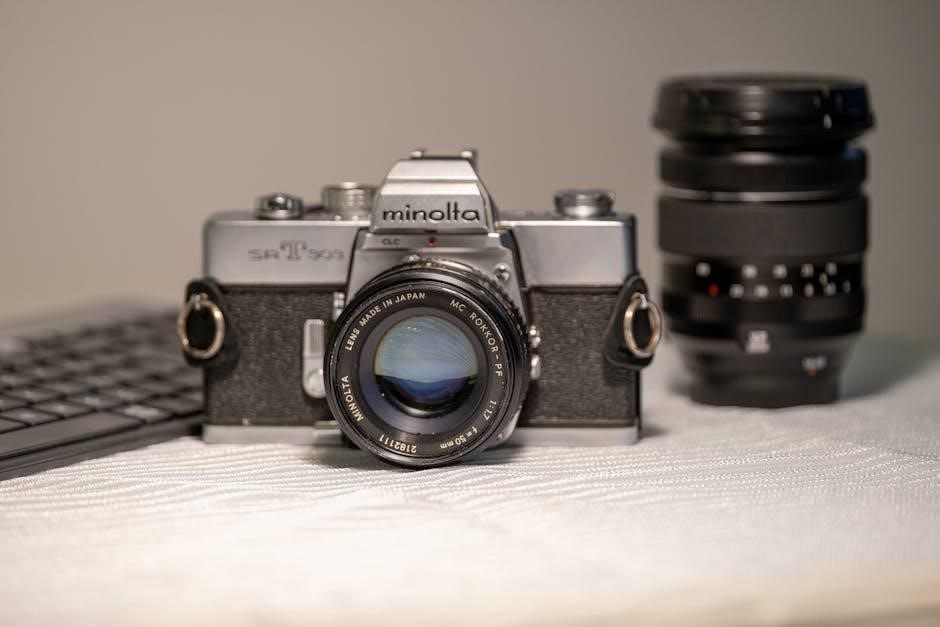
The Minolta X-370 features aperture-priority auto-exposure and manual mode‚ offering precise control over photography. It includes a quartz-controlled shutter‚ ensuring accurate speeds‚ and compatibility with Minolta SR-mount lenses. Additional features include a built-in flash sync at 1/60 sec‚ remote control capability‚ and compatibility with accessories like motor drives and wireless controllers‚ making it a versatile and durable choice for photographers.

1.2 Historical Context and Popularity
Released in the late 1980s‚ the Minolta X-370 became popular for its advanced yet user-friendly design‚ appealing to both amateur and professional photographers. Its robust construction and compatibility with a wide range of accessories contributed to its enduring popularity. Today‚ it remains sought after by collectors and enthusiasts‚ celebrating its legacy as a significant piece of photographic history.

Available Manuals for the Minolta X-370
The Minolta X-370 has various manuals available‚ including owner’s‚ instruction‚ and service manuals‚ all accessible as free PDF downloads from official sources and photography repositories.
2.1 Types of Manuals (Owner’s Manual‚ Instruction Manual‚ Service Manual)
The Minolta X-370 offers three key manuals: the Owner’s Manual‚ detailing basic operations and features; the Instruction Manual‚ providing in-depth usage guidance; and the Service Manual‚ catering to technical repairs and maintenance with diagrams and repair procedures. These resources ensure comprehensive understanding and upkeep of the camera.
2.2 Where to Download the Manuals (Free PDF Resources)
Minolta X-370 manuals are available as free PDF downloads from various online sources. Websites like ManualsLib‚ Butkus Camera Manuals‚ and MediaCollege provide access to the Owner’s Manual‚ Instruction Manual‚ and Service Manual. These platforms offer easy navigation and direct links for downloading‚ ensuring users can quickly obtain the necessary guides for their camera maintenance and operation needs.

Main Functions and Modes of the Minolta X-370
The Minolta X-370 features aperture-priority auto-exposure and manual modes‚ with quartz-controlled shutter speeds and a built-in light meter for precise exposures. Its intuitive design combines ease of use with advanced functionality.
3.1 Aperture-Priority Auto-Exposure Mode
The Minolta X-370’s aperture-priority mode allows users to set the lens aperture‚ with the camera automatically adjusting the shutter speed for optimal exposure. This mode is ideal for controlling depth of field while ensuring proper exposure. The camera’s microcomputer calculates the correct shutter speed based on the selected aperture‚ making it a versatile option for photographers who want creative control without manual calculations. This feature enhances flexibility and precision in various lighting conditions.
3.2 Manual Mode and Custom Settings
The Minolta X-370 offers a manual mode for full control over exposure settings‚ allowing photographers to adjust both aperture and shutter speed independently. Custom settings include manual ISO selection (12-3200)‚ exposure compensation‚ and flash sync speed. These features provide flexibility for experienced users‚ enabling precise control over lighting and composition. The camera’s quartz-controlled shutter ensures accurate speeds‚ making manual mode reliable for creative photography.
Compatible Accessories and Lenses
The Minolta X-370 is compatible with a wide range of lenses and accessories‚ including Motor Drive 1‚ Auto Winder G‚ and Wireless Controller IR-1‚ enhancing its versatility.
4.1 List of Compatible Lenses
The Minolta X-370 supports various SR-mount lenses‚ including wide-angle‚ telephoto‚ and zoom options. Compatible lenses include the MC/MD series‚ such as the 50mm f/1.7‚ 28mm f/2.8‚ and 70-200mm zoom‚ offering versatility for different photography needs. These lenses ensure high optical quality and compatibility with the X-370’s advanced features‚ making them ideal for both casual and professional use.
4.2 Additional Accessories (Motor Drive‚ Auto Winder‚ Flash Units)
The Minolta X-370 can be enhanced with accessories like the Motor Drive MD-1 for faster shooting and the Auto Winder G for automatic film winding. Flash units‚ such as the Minolta X-series Auto Electroflash‚ simplify flash photography with features like TTL metering and synchronization at 1/60 sec. These accessories expand the camera’s functionality‚ catering to professional and advanced photographers seeking enhanced performance and convenience.
Troubleshooting and Common Issues
The Minolta X-370 may experience issues like shutter curtain damage or battery corrosion. Regular maintenance and proper handling can prevent these problems‚ ensuring optimal performance.
5.1 Common Problems and Solutions
Common issues with the Minolta X-370 include shutter curtain tears‚ battery corrosion‚ and faulty light meters. Solutions involve professional repair for curtains‚ cleaning corrosion with a cotton swab‚ and recalibrating or replacing the light meter. Regular maintenance‚ such as cleaning and proper storage‚ can prevent these issues‚ ensuring the camera’s longevity and reliable performance over time.
5.2 Maintenance and Repair Tips
Regular maintenance for the Minolta X-370 includes cleaning the battery compartment and checking the shutter curtains for tears. Use a soft brush to remove dust and ensure proper function. For repairs‚ handle components with anti-static precautions and refer to the service manual for detailed guidance. Proper storage and periodic inspections can extend the camera’s lifespan. Always use original accessories and follow the manual’s recommendations for optimal performance.

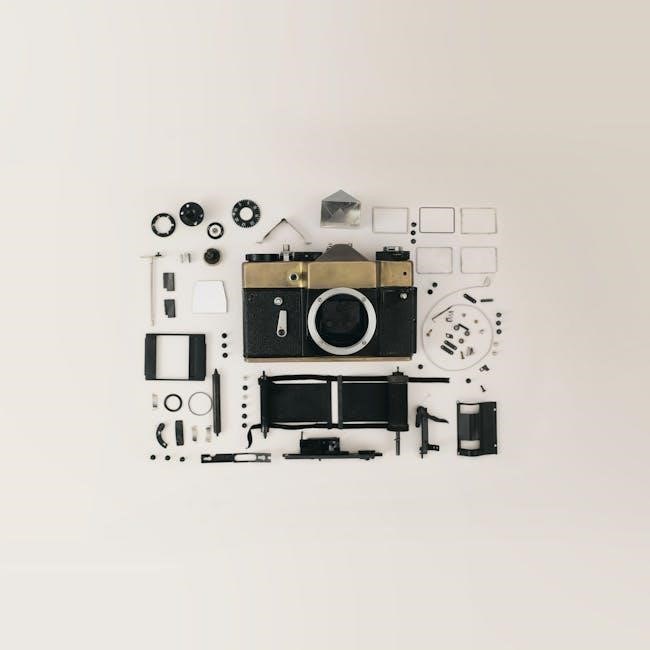
Service and Repair Information
The Minolta X-370 service manual provides detailed instructions for repairs‚ maintenance‚ and parts replacement. It emphasizes handling static-sensitive components with care and using proper tools for troubleshooting and fixes.
6.1 Detailed Service Manual Highlights
The Minolta X-370 service manual is a comprehensive 110-page guide covering repairs‚ maintenance‚ and parts replacement. It includes detailed troubleshooting steps‚ circuit diagrams‚ and repair procedures for common issues. The manual emphasizes handling static-sensitive components carefully and using proper tools to avoid damage. It also provides safety precautions and step-by-step instructions for disassembling and reassembling the camera‚ ensuring precise and effective servicing.
6.2 DIY Repair Guidelines
DIY repairs for the Minolta X-370 require caution and attention to detail. Start by grounding yourself to prevent static damage. Use specialized tools for disassembly‚ focusing on delicate components like the flexible circuit board. Follow the service manual’s step-by-step instructions for replacing parts such as the shutter or light seals. Patience and precision are key to ensuring the camera functions properly after repairs. Always refer to the manual for specific guidance.

User Guide and Operating Instructions
The Minolta X-370 user guide provides step-by-step instructions for setup‚ basic operations‚ and advanced techniques. It helps photographers master the camera’s features and capabilities effectively.
7.1 Step-by-Step Camera Setup
The Minolta X-370 setup begins with installing the batteries‚ followed by attaching the lens and loading the film. Set the ISO using the dial‚ then adjust basic settings like aperture and shutter speed. These steps ensure proper functionality and prepare the camera for use‚ providing a smooth start for photographers. Always check the viewfinder and ensure all components are securely in place.
7.2 Advanced Features and Techniques
The Minolta X-370 supports advanced techniques like multiple exposures and self-timer use. Utilize the aperture-priority mode for creative control over depth of field. Experiment with flash photography by syncing with Minolta’s Auto Electroflash units. For precise focus‚ use the camera’s quartz-controlled shutter and manual overrides. These features enhance versatility‚ allowing photographers to explore artistic expressions and technical precision with ease.

Legacy and Collectibility of the Minolta X-370
The Minolta X-370 is a timeless favorite among collectors‚ prized for its user-friendly design‚ advanced features‚ and historical significance in photography‚ making it a sought-after asset.
8.1 Why the X-370 is Sought After by Collectors
The Minolta X-370 is sought after by collectors for its blend of advanced features‚ user-friendly design‚ and historical significance. Its aperture-priority auto-exposure and manual mode offer flexibility‚ appealing to both enthusiasts and professionals. The camera’s solid build and classic aesthetic provide nostalgic value‚ while its role in photography’s evolution adds to its collectibility. Compatibility with various accessories and a supportive community further enhance its desirability.
8.2 Historical Significance in Photography
The Minolta X-370 holds a notable place in photography history as a bridge between manual and automatic systems. Released in the late 1970s‚ it introduced innovative features like aperture-priority auto-exposure and quartz-controlled shutter timing‚ making advanced photography more accessible. Its design influenced later camera models‚ and its popularity among professionals and enthusiasts solidified its legacy as a pivotal tool in the evolution of SLR photography.

Downloading the Manual
The Minolta X-370 manual is available as a free PDF download‚ including Service‚ Instruction‚ and Owner’s manuals‚ from websites like MediaCollege and ManualsLib in English.
9.1 Direct Links to PDF Downloads
9.2 Tips for Navigating the Manual
Use the table of contents to quickly locate specific sections. Search for key features like aperture-priority mode or flash settings. Refer to diagrams for visual guidance. Pay attention to symbols and terminology explanations. Use the scroll bar to navigate page by page. Ensure Adobe Acrobat is updated for smooth viewing. Take notes on important settings for easy reference. This approach ensures efficient use of the manual.