Free cross stitch patterns in PDF format are readily available, offering a fantastic entry point for beginners. Numerous websites provide downloadable designs, making this relaxing craft accessible to everyone, today is 04/01/2026.
The Growing Popularity of Cross Stitch
Cross stitch is experiencing a significant resurgence in popularity, moving beyond its traditional image. This is fueled, in part, by the accessibility of easy cross stitch patterns available for free download in PDF format. Social media platforms like Instagram and Pinterest showcase stunning finished pieces, inspiring a new generation of crafters.
The mindful and meditative nature of cross stitch appeals to those seeking a break from digital life. It’s a relatively inexpensive hobby to start, especially with the wealth of free patterns online. The ability to create personalized gifts and home décor adds to its appeal. Today, 04/01/2026, the demand for simple, modern designs is particularly high, driving the creation of more beginner-friendly PDF patterns. This renewed interest demonstrates cross stitch’s enduring charm and adaptability.
Why Choose Free Patterns? (Cost & Accessibility)
Opting for free cross stitch patterns, particularly those available as PDF downloads, significantly lowers the barrier to entry for beginners. The initial cost of supplies – fabric, floss, and a needle – is minimal, and free patterns eliminate the expense of purchasing designs. This makes it an incredibly budget-friendly hobby.
Accessibility is another key benefit. A vast library of easy cross stitch patterns can be instantly downloaded from various websites, offering a diverse range of styles and themes. Today, 04/01/2026, this convenience allows crafters to start projects immediately without waiting for shipping or visiting a store. Free PDF patterns are perfect for experimenting with new techniques and discovering personal preferences before investing in more complex, paid designs.

Understanding Cross Stitch Basics
Cross stitch involves creating images with X-shaped stitches on fabric. Free PDF patterns simplify learning, and understanding basic techniques is key to enjoying this craft, today is 04/01/2026.
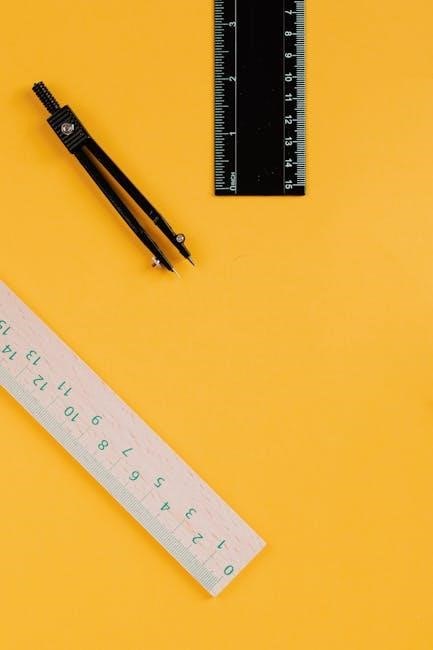
Essential Supplies for Beginners
Embarking on your cross stitch journey doesn’t require a huge investment! To start with free downloadable PDF patterns, you’ll need a few key supplies. First, Aida cloth is the most beginner-friendly fabric due to its easily identifiable squares. Next, you’ll require embroidery floss – DMC is a popular and widely available brand, offering a vast color palette.
A blunt-tipped needle is crucial for navigating the Aida cloth without splitting the fibers. Small embroidery scissors are handy for trimming floss. A hoop or frame will keep your fabric taut while you stitch, improving stitch quality. Finally, consider a pattern organizer or folder to keep your free PDF patterns neat and accessible. Don’t forget a good light source – essential for seeing those tiny squares! These basic tools, combined with readily available free patterns, will set you up for success, today is 04/01/2026.
Cross Stitch Terminology (Aida, DMC, etc.)
Understanding a few key terms will greatly enhance your experience with free cross stitch patterns, especially when working with downloadable PDF charts. Aida cloth is the foundation – an evenweave fabric with distinct squares that simplify stitch placement. Count refers to the number of squares per inch; lower counts are easier for beginners.
DMC is the most recognized brand of embroidery floss, using a numbering system to identify colors. A stitch is the fundamental ‘X’ shape that builds the design. A chart is the pattern itself, often using symbols to represent different floss colors. Backstitch is a simple outlining stitch used for details. When exploring free PDF patterns, you’ll encounter these terms frequently. Familiarizing yourself with them now will make decoding those charts a breeze, today is 04/01/2026.
Where to Find Free Cross Stitch Patterns (PDF Downloads)
Numerous online resources offer free cross stitch patterns in PDF format. Websites and online marketplaces provide a diverse selection of designs for immediate download, today is 04/01/2026.
Dedicated Free Pattern Websites
Several websites specialize in providing free cross stitch patterns, often in easily downloadable PDF format. These platforms are curated specifically for enthusiasts, offering a wide range of designs from simple beginner projects to more intricate pieces.
FreePatterns.com is a popular choice, boasting a substantial library categorized by theme and skill level. Another excellent resource is The Spruce Crafts, which frequently publishes free patterns alongside helpful tutorials. DMC, the renowned floss manufacturer, also offers a selection of free patterns on their website, often designed to showcase their thread colors.
LoveCrafts frequently features free patterns as promotions, and many independent designers maintain blogs or websites where they share their creations without cost. Remember to check the licensing terms before using any downloaded pattern, ensuring it’s permitted for personal use. Today is 04/01/2026, and these sites are updated regularly with fresh content.
Online Marketplaces Offering Freebies (Etsy, Ravelry)
While known for paid patterns, platforms like Etsy and Ravelry also host designers who offer free cross stitch patterns, often in PDF format, as promotional items or introductory offers. Searching specifically for “free cross stitch pattern” within these marketplaces can yield surprising results.
Ravelry, a community-focused site, is particularly strong for finding patterns shared by individual designers. Many designers use free patterns to build their reputation and attract customers to their paid offerings. Etsy’s search filters allow you to refine results to only show free items.
Be aware that the quality and complexity of free patterns on these sites can vary. Always check the designer’s reviews and the pattern details before downloading. Today is 04/01/2026, and new freebies are added frequently, so regular browsing is recommended.
Popular Themes for Easy Cross Stitch Patterns
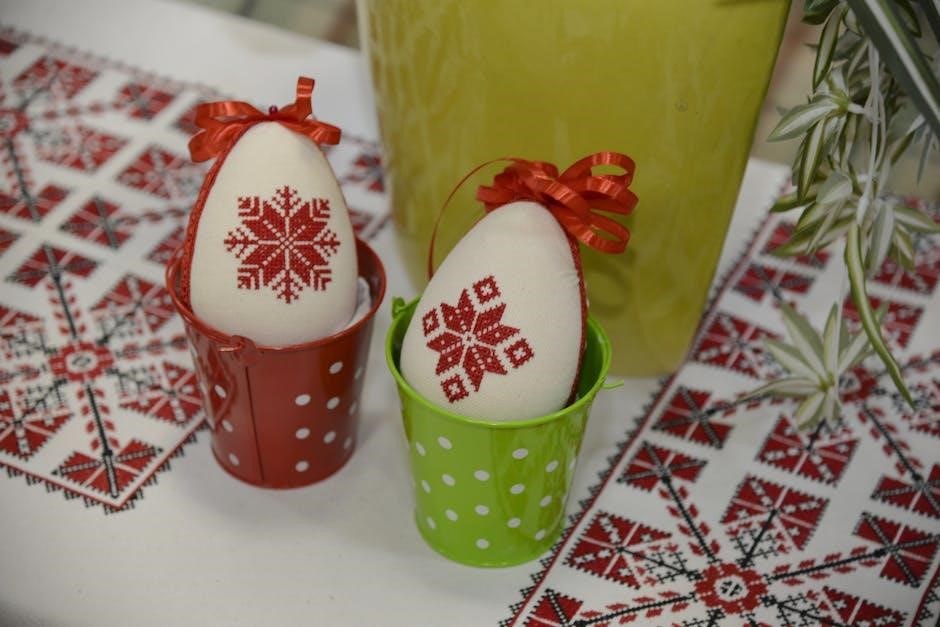
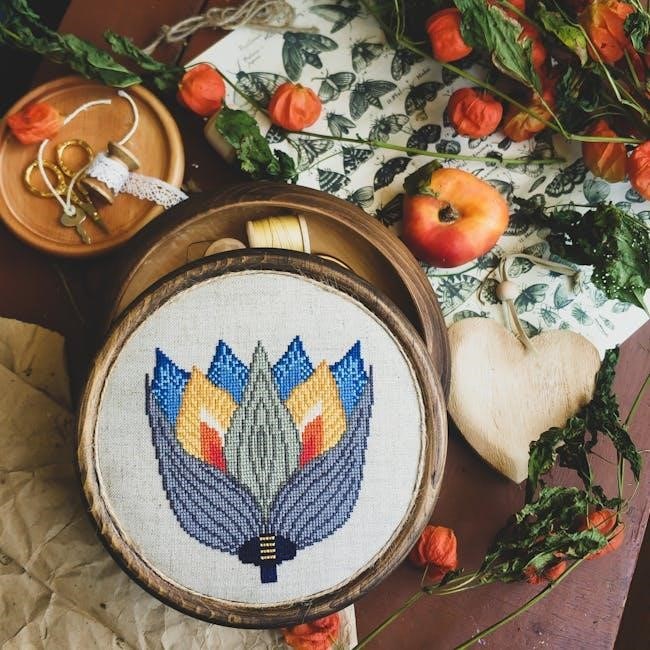
Floral and animal motifs dominate the selection of easy cross stitch patterns available as free PDF downloads, offering charming and approachable designs today is 04/01/2026.
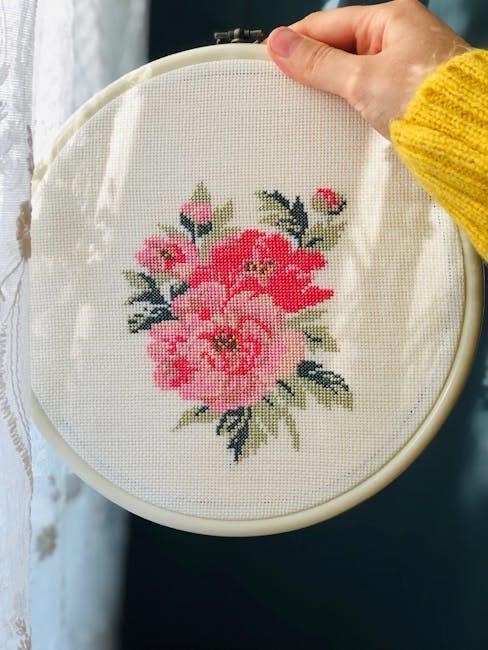
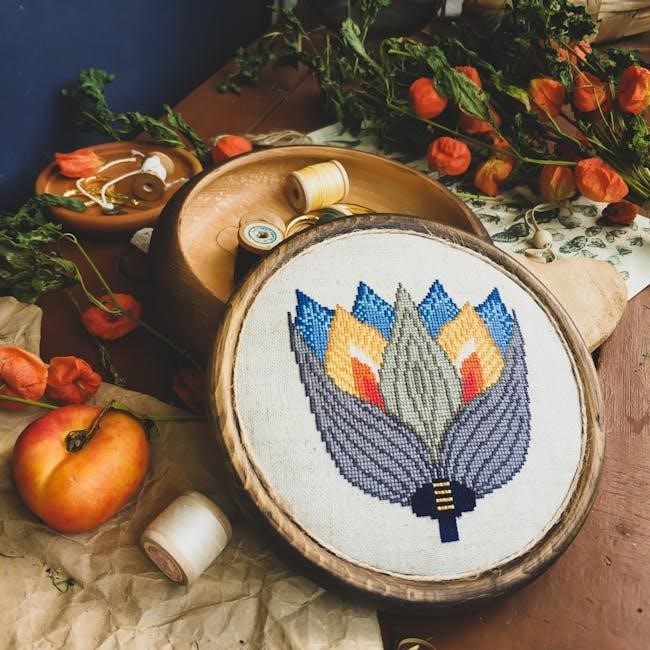
Floral Designs – A Classic Choice
Floral cross stitch patterns consistently rank as a favorite among stitchers, and thankfully, many beautiful options are available for free download in PDF format. These designs range from simple single blooms – perfect for beginners – to more intricate bouquets and garden scenes. The appeal lies in their versatility; floral motifs can be adapted to suit any aesthetic, from rustic farmhouse to delicate vintage.
You’ll find a wealth of easy floral patterns online, often featuring daisies, roses, lavender, and sunflowers. These patterns frequently utilize a limited color palette, simplifying the stitching process. Many designers offer sampler-style floral arrangements, ideal for practicing new stitches or experimenting with color combinations. The abundance of free PDF downloads means you can explore numerous styles before committing to a larger project. Today is 04/01/2026, and the options are plentiful!
Consider searching for “beginner floral cross stitch PDF” to quickly locate suitable designs. Don’t hesitate to start small – a single flower can be a wonderfully rewarding first project.
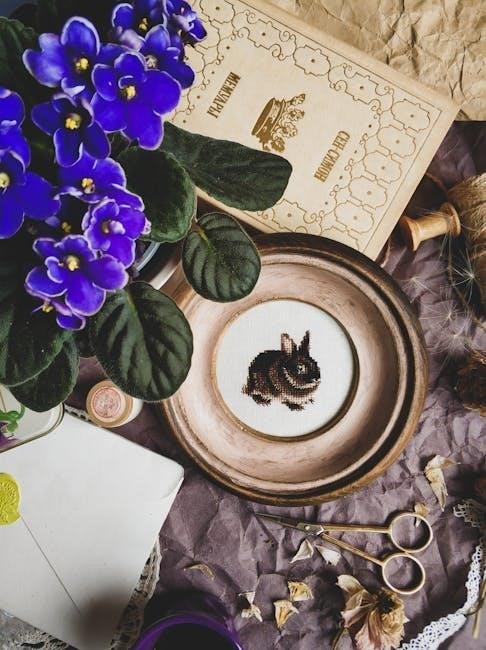
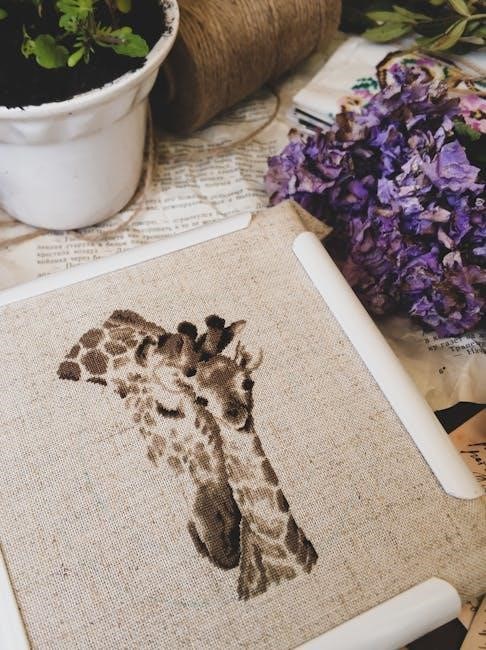
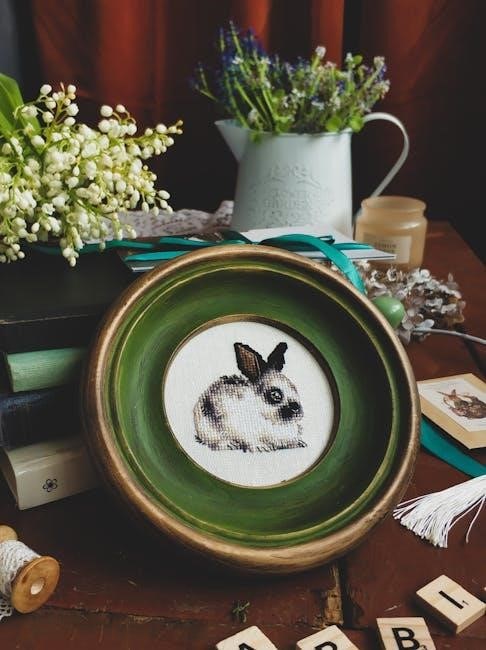
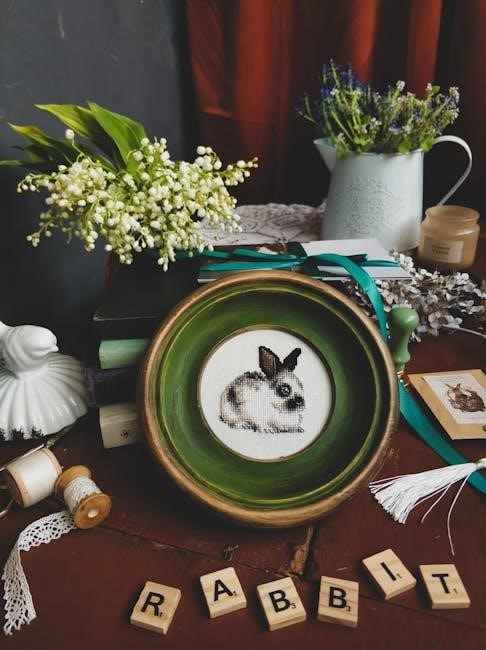
Animal Motifs – Cute and Appealing
Animal cross stitch patterns are incredibly popular, offering a delightful range of designs for all skill levels. Luckily, many adorable options are available as free PDF downloads! From charming kittens and playful puppies to majestic birds and whimsical woodland creatures, there’s an animal motif to capture everyone’s heart. These patterns are particularly appealing for nursery décor, gifts for animal lovers, or simply a cheerful project to brighten your day.
When searching for easy animal patterns, look for designs with bold outlines and limited color variations. Simple cartoon-style animals are a great starting point for beginners. Many designers offer miniature animal samplers, perfect for practicing basic stitches. The availability of free PDF downloads allows you to experiment with different animal designs without any financial commitment. Today is 04/01/2026, and the choices are vast!
Keywords like “easy animal cross stitch PDF” or “beginner animal cross stitch pattern” will yield excellent results.
Beginner-Friendly Pattern Types
Simple patterns, like those featuring basic shapes or limited colors, are ideal for new cross stitchers. Many free PDF downloads cater to beginners, today is 04/01/2026.
Simple Geometric Patterns
Geometric cross stitch patterns are a superb starting point for beginners, offering a satisfying result with minimal complexity. These designs often utilize straight lines and basic shapes – squares, triangles, and diamonds – making them incredibly easy to follow. The repetitive nature of geometric stitching is also wonderfully meditative!
Many websites specializing in free cross stitch patterns offer a dedicated section for geometric designs in easily downloadable PDF format. You’ll find everything from simple repeating tile patterns to more stylized abstract art. These patterns frequently require fewer color changes, reducing the chance of errors and streamlining the process.
Look for patterns specifically labeled “beginner-friendly” or “easy.” These will typically have larger grids and clearer symbols. Downloading a PDF allows you to print the chart at a size that’s comfortable for you to work with, and many include helpful guides to get you started. Today is 04/01/2026. Exploring these patterns builds confidence and foundational skills.
Alphabet & Number Charts for Personalization
Alphabet and number cross stitch charts provide incredible opportunities for personalized projects! These free downloadable PDF patterns allow you to create custom gifts, monograms, or commemorate special dates with ease. They are exceptionally beginner-friendly, as each letter or number is typically a self-contained design.
Numerous online resources offer complete alphabets in various fonts and styles, ranging from classic to modern. You can mix and match letters to spell out names, phrases, or initials. Similarly, number charts are perfect for birthdays, anniversaries, or creating unique house numbers for decorative pieces.
When searching for easy cross stitch patterns, specifically look for charts with clear symbols and a limited color palette. PDF format ensures easy printing and scaling. Today is 04/01/2026. Combining these charts with simple backgrounds or borders elevates your projects, making them truly one-of-a-kind and heartfelt gifts.
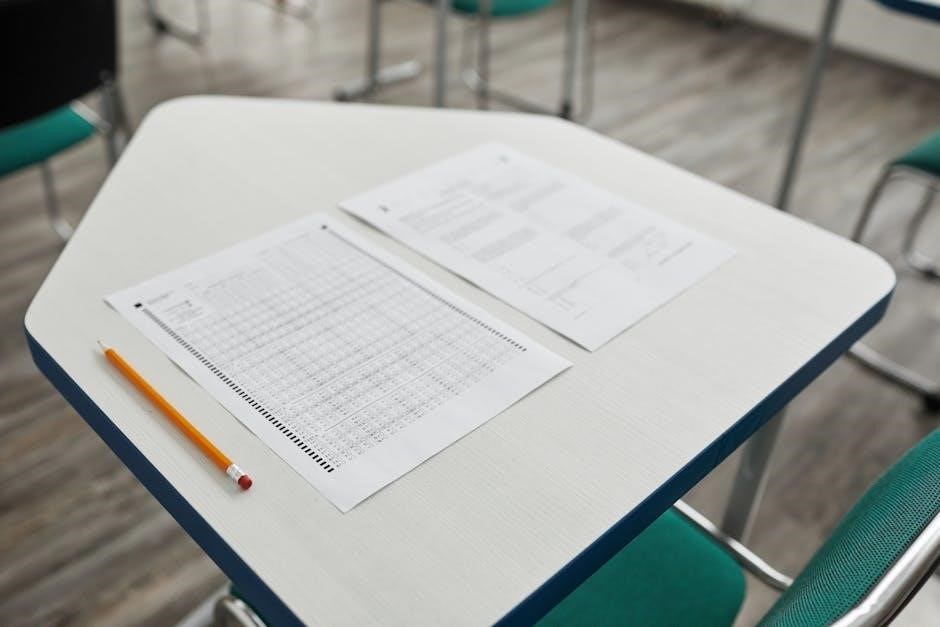
Downloading and Using PDF Patterns
PDF patterns offer convenience for easy cross stitch! Ensure your device can open them, and print at 100% scale for accurate stitch counts, today is 04/01/2026.
Ensuring PDF Compatibility & Printing
Successfully utilizing downloaded cross stitch patterns, often in PDF format, hinges on a few key steps. First, verify your computer or mobile device has a PDF reader installed – Adobe Acrobat Reader is a widely used, free option. If the pattern doesn’t open correctly, this is the first thing to address.
Crucially, when printing, always select “100% scale” or “actual size” in your printer settings. Any scaling will distort the grid and symbols, leading to an inaccurate finished piece. A test square, usually included in the PDF, is invaluable for confirming correct printing. Compare the printed square’s stitch count to the chart to ensure accuracy.
Consider using a higher quality paper for printing to prevent bleed-through when marking your stitches. Finally, remember that color accuracy can vary between monitors and printers; a small discrepancy is usually acceptable, but significant differences might indicate a printer calibration issue. Today is 04/01/2026.
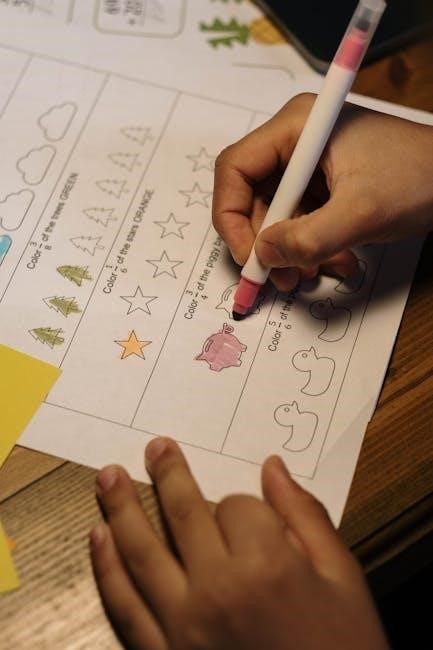
Reading a Cross Stitch Chart – Symbols & Colors
Cross stitch charts, frequently found within PDF downloads, are essentially maps for your needlework. Each square on the chart represents one stitch on your Aida cloth. Symbols within these squares dictate the floss color you’ll use. A comprehensive key, always included with the chart, links each symbol to a specific DMC (or other brand) floss number.
Understanding the chart’s grid is vital. Charts are typically read right to left and top to bottom. Pay attention to any indicated center point – this helps ensure symmetrical designs. Different charts may use full crosses, half stitches, or backstitches, all clearly explained in the key.
Don’t be intimidated by a complex-looking chart! Start with smaller, simpler patterns to build confidence. Color-coding the symbols on your chart with the corresponding floss can also be incredibly helpful. Today is 04/01/2026.

Resources for Further Learning & Inspiration
Beyond free PDF downloads, a wealth of resources exists to elevate your cross stitch journey. Websites like DMC’s official site offer extensive color charts and stitch guides. YouTube channels dedicated to cross stitch provide visual tutorials, covering everything from basic techniques to advanced finishing methods.
Online forums and communities, such as those found on Ravelry, are fantastic places to connect with fellow stitchers, share projects, and ask questions. Many blogs feature detailed pattern reviews and helpful tips. Consider joining a local cross stitch group for in-person guidance and camaraderie.
Exploring books on cross stitch techniques and design will broaden your skillset. Remember to utilize the resources available to continually learn and find inspiration for your next project. Today is 04/01/2026.